From S.H.O.
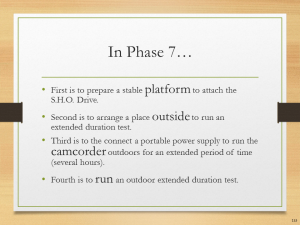
In Phase 7…
• First is to prepare a stable platform to attach the S.H.O. Drive.
• Second is to arrange a place outside to run an extended duration test.
• Third is to the connect a portable power supply to run the camcorder outdoors for an extended period of time (several hours).
• Fourth is to run an outdoor extended duration test.
Standing structure
(Top)
| Music Stand
(Equipment)
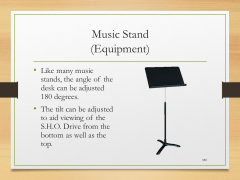
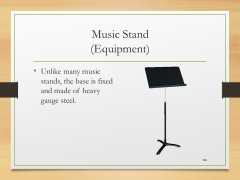
• To provide an elevated structure to secure the S.H.O. Drive, I purchased the Talent MUS-3 Heavy Duty Steel Fixed Base Music Stand from Talent at Amazon.com |
| Music Stand
(Equipment)
• Like many music stands, the angle of the desk can be adjusted 180 degrees.
• The tilt can be adjusted to aid viewing of the S.H.O. Drive from the bottom as well as the top. |
| Music Stand
(Equipment)
• Unlike many music stands, the base is fixed and made of heavy gauge steel. |
| Barbell Plate
(Equipment)
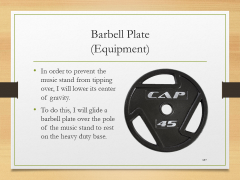
• In order to prevent the music stand from tipping over, I will lower its center of gravity.
• To do this, I will glide a barbell plate over the pole of the music stand to rest on the heavy duty base. |
| Barbell Plate
(Equipment)
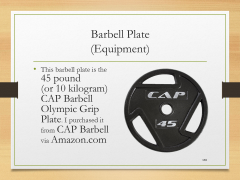
• This barbell plate is the 45 pound (or 10 kilogram) CAP Barbell Olympic Grip Plate. I purchased it from CAP Barbell via Amazon.com |
|
Acrylic carrying arms
(Top)
| Transparency
(Protocols)
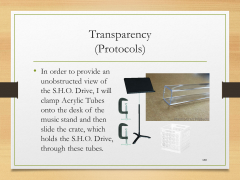
• In order to provide an unobstructed view of the S.H.O. Drive, I will clamp Acrylic Tubes onto the desk of the music stand and then slide the crate, which holds the S.H.O. Drive, through these tubes. |
| Acrylic Tubes
(Equipment)
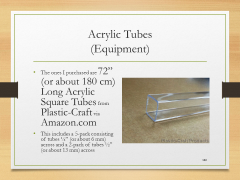
• The ones I purchased are 72” (or about 180 cm) Long Acrylic Square Tubes from Plastic-Craft via Amazon.com
• This includes a 5-pack consisting of tubes ¼” (or about 6 mm) across and a 2-pack of tubes ½” (or about 13 mm) across |
| Laminate Scorer
(Tools)
• In order to split the 72” tubes in half, I purchased the OLFA 1090486 PC-L Plastic/Laminate Scorer from Olfa via Amazon.com. |
| Tubes
(Assembly)
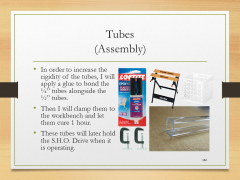
• In order to increase the rigidity of the tubes, I will apply a glue to bond the ¼” tubes alongside the ½” tubes.
• Then I will clamp them to the workbench and let them cure 1 hour.
• These tubes will later hold the S.H.O. Drive when it is operating. |
| Tubes
(Assembly)
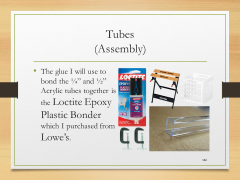
• The glue I will use to bond the ¼” and ½” Acrylic tubes together is the Loctite Epoxy Plastic Bonder which I purchased from Lowe’s. |
| Acrylic Sheet
(Equipment)
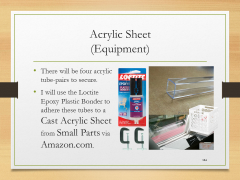
• There will be four acrylic tube-pairs to secure.
• I will use the Loctite Epoxy Plastic Bonder to adhere these tubes to a Cast Acrylic Sheet from Small Parts via Amazon.com. |
| C-Clamps
(Equipment)
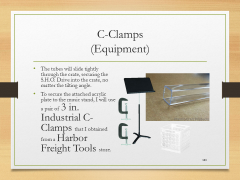
• The tubes will slide tightly through the crate, securing the S.H.O. Drive into the crate, no matter the tilting angle.
• To secure the attached acrylic plate to the music stand, I will use a pair of 3 in. Industrial C-Clamps that I obtained from a Harbor Freight Tools store. |
|
Test location
(Top)
| Let’s Test the S.H.O. Drive Outside!
Caption: Just after I moved in to my studio apartment on September 2015, this orange “tag” appeared nearby, visible from my unit, in an area I pass by regularly. On July 26, 2015, I renamed the “S-Motor”, as it was called originally, to “S.H.O. Motor”. |
| PREFERRED TEST LOCATION
Gas Works Park
2101 N Northlake Way, Seattle, WA 98103
Caption: The actual test location is yet to be determined. (April 18, 2016) |
|
Recording setup
(Top)
| Continuous Recording Outdoors
(Protocols)
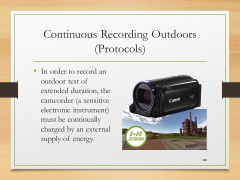
• In order to record an outdoor test of extended duration, the camcorder (a sensitive electronic instrument) must be continually charged by an external supply of energy. |
| AC-to-DC Adapter
(Equipment)
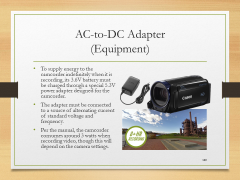
• To supply energy to the camcorder indefinitely when it is recording, its 3.6V battery must be charged through a special 5.3V power adapter designed for the camcorder.
• The adapter must be connected to a source of alternating current of standard voltage and frequency.
• Per the manual, the camcorder consumes around 3 watts when recording video, though this will depend on the camera settings. |
| DC-to-AC Inverter
(Equipment)
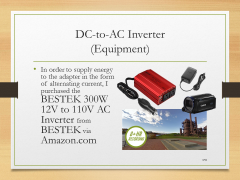
• In order to supply energy to the adapter in the form of alternating current, I purchased the BESTEK 300W 12V to 110V AC Inverter from BESTEK via Amazon.com |
| 12V DC Battery Cables
(Equipment)
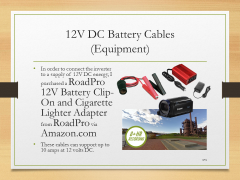
• In order to connect the inverter to a supply of 12V DC energy, I purchased a RoadPro 12V Battery Clip-On and Cigarette Lighter Adapter from RoadPro via Amazon.com
• These cables can support up to 10 amps at 12 volts DC. |
| 12V Battery
(Equipment)
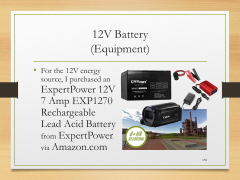
• For the 12V energy source, I purchased an ExpertPower 12V 7 Amp EXP1270 Rechargeable Lead Acid Battery from ExpertPower via Amazon.com |
| 12V Battery
(Equipment)
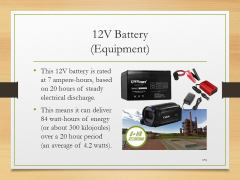
• This 12V battery is rated at 7 ampere-hours, based on 20 hours of steady electrical discharge.
• This means it can deliver 84 watt-hours of energy (or about 300 kilojoules) over a 20 hour period (an average of 4.2 watts). |
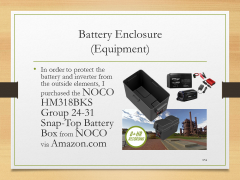
| Battery Enclosure
(Equipment)
• In order to protect the battery and inverter from the outside elements, I purchased the NOCO HM318BKS Group 24-31 Snap-Top Battery Box from NOCO via Amazon.com |
| Tripod
(Equipment)
• To record stable video of the S.H.O. Drive from a distance, I will attach the camcorder to a 72” Tripod that I purchased from ButterflyPhoto via Amazon.com |
|
Outdoor test
(Top)
| Multi-hour Test(Testing)• The following will be tested: • Resistance • Inductance [ f(position) ] • R.M.S. Voltage [ f(r.p.m.) ] • Rotational Speed • R.M.S. Current • Temperature [ +references ] • Refer to procedure laid out in Phase 4. |
|
April 2016 Presentation
(Top)
| I
|

Introduction
Summary of measuring devices, back up and safety equipment, and camcorder (+accessories)
|
| 1
|

Phase 1
Holes, brass hinges, square nuts
|
| 2
|

Phase 2
Neodymium magnets and bearings
|
| 3
|

Phase 3
Spool, coils, and ceiling hooks
|
| 4
|
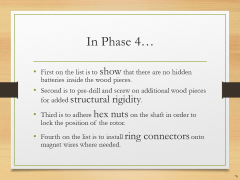
Phase 4
No hidden batteries, increase rigidity, hex nuts, terminal rings, toggle switch, fan blades, and extended test run
|
| 5
|

Phase 5
Heavy duty basket, S.H.O. Drive insertion, secure meters, and portable extended test run
|
| 6
|
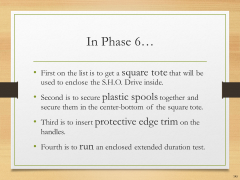
Phase 6
Square tote, plastic spools, protective edge trim, and enclosed extended test run
|
| 7
|
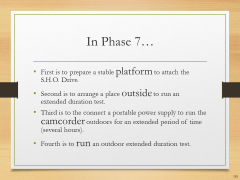
Phase 7
Prepare elevated test platform, outdoor test setup, camcorder hookup to portable power, and outdoor extended test run
|
Site map
HQ ● Glossary ● April 2016 Presentation







![Multi-hour Test(Testing)• The following will be tested:• Resistance• Inductance [ f(position) ]• R.M.S. Voltage [ f(r.p.m.) ]• Rotational Speed• R.M.S. Current• Temperature [ +references ]• Refer to procedure laid out in Phase 4.](/images/thumb/Let%27s_Build_the_S.H.O._Drive%21_-_Slide_176_of_176.png/240px-Let%27s_Build_the_S.H.O._Drive%21_-_Slide_176_of_176.png)
