|
|
| Line 35: |
Line 35: |
| | |Let's Build the S.H.O. Drive! - Slide 019 of 176.png||'''2 Barn Birdhouse Kits'''<br>''(Phase 1 Parts)''<br>• The wood panels I will be using will come from 2 SawDust Bros. Birdhouse Kits which I obtained from Woodcraft.<br>• Why birdhouse kits? Well each birdhouse kit is packed with many pieces of wood of various sizes, which I may use in the future. | | |Let's Build the S.H.O. Drive! - Slide 019 of 176.png||'''2 Barn Birdhouse Kits'''<br>''(Phase 1 Parts)''<br>• The wood panels I will be using will come from 2 SawDust Bros. Birdhouse Kits which I obtained from Woodcraft.<br>• Why birdhouse kits? Well each birdhouse kit is packed with many pieces of wood of various sizes, which I may use in the future. |
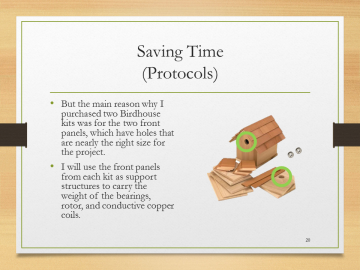
| | |Let's Build the S.H.O. Drive! - Slide 020 of 176.png||'''Saving Time'''<br>''(Protocols)''<br>• But the main reason why I purchased two Birdhouse kits was for the two front panels, which have holes that are nearly the right size for the project.<br>• I will use the front panels from each kit as support structures to carry the weight of the bearings, rotor, and conductive copper coils. | | |Let's Build the S.H.O. Drive! - Slide 020 of 176.png||'''Saving Time'''<br>''(Protocols)''<br>• But the main reason why I purchased two Birdhouse kits was for the two front panels, which have holes that are nearly the right size for the project.<br>• I will use the front panels from each kit as support structures to carry the weight of the bearings, rotor, and conductive copper coils. |
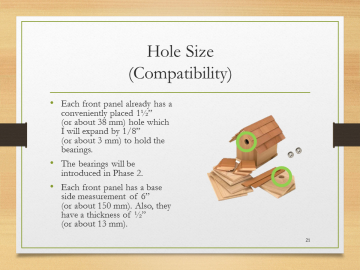
| − | |Let's Build the S.H.O. Drive! - Slide 021 of 176.png||'''Hole Size'''<br>''(Compatibility)''<br>• Each front panel already has a conveniently placed 1½”‘‘‘<br>''(or about 38 mm) hole which I will expand by 1/8”‘‘‘<br>''(or about 3 mm) to hold the bearings.<br>• The bearings will be introduced in Phase 2.<br>• Each front panel has a base side measurement of 6”‘‘‘<br>''(or about 150 mm). Also, they have a thickness of ½”‘‘‘<br>''(or about 13 mm). | + | |Let's Build the S.H.O. Drive! - Slide 021 of 176.png||'''Hole Size'''<br>''(Compatibility)''<br>• Each front panel already has a conveniently placed 1½” (or about 38 mm) hole which I will expand by 1/8” (or about 3 mm) to hold the bearings.<br>• The bearings will be introduced in Phase 2.<br>• Each front panel has a base side measurement of 6” (or about 150 mm). Also, they have a thickness of ½” (or about 13 mm). |
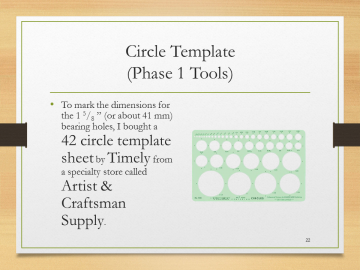
| | |Let's Build the S.H.O. Drive! - Slide 022 of 176.png||'''Circle Template'''<br>''(Phase 1 Tools)''<br>• To mark the dimensions for the 1 5/8 ” (or about 41 mm) bearing holes, I bought a 42 circle template sheet by Timely from a specialty store called Artist & Craftsman Supply. | | |Let's Build the S.H.O. Drive! - Slide 022 of 176.png||'''Circle Template'''<br>''(Phase 1 Tools)''<br>• To mark the dimensions for the 1 5/8 ” (or about 41 mm) bearing holes, I bought a 42 circle template sheet by Timely from a specialty store called Artist & Craftsman Supply. |
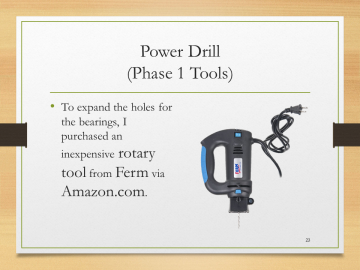
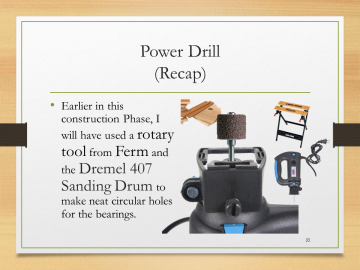
| | |Let's Build the S.H.O. Drive! - Slide 023 of 176.png||'''Power Drill'''<br>''(Phase 1 Tools)''<br>• To expand the holes for the bearings, I purchased an inexpensive rotary tool from Ferm via Amazon.com. | | |Let's Build the S.H.O. Drive! - Slide 023 of 176.png||'''Power Drill'''<br>''(Phase 1 Tools)''<br>• To expand the holes for the bearings, I purchased an inexpensive rotary tool from Ferm via Amazon.com. |
| Line 67: |
Line 67: |
| | |footer= | | |footer= |
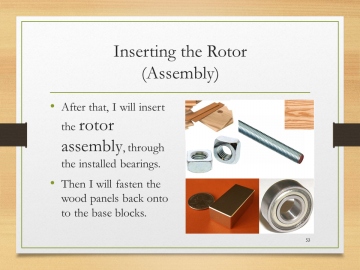
| | |Let's Build the S.H.O. Drive! - Slide 044 of 176.png||'''In Phase 2'''<br>• First on the list is to assemble a rotor of neodymium magnets onto the shaft.<br>• Second on the list is to insert the rotor through the bearings securely into the disassembled wooden panels.<br>• And third is to reattach the wood panels back onto the wood base blocks. | | |Let's Build the S.H.O. Drive! - Slide 044 of 176.png||'''In Phase 2'''<br>• First on the list is to assemble a rotor of neodymium magnets onto the shaft.<br>• Second on the list is to insert the rotor through the bearings securely into the disassembled wooden panels.<br>• And third is to reattach the wood panels back onto the wood base blocks. |
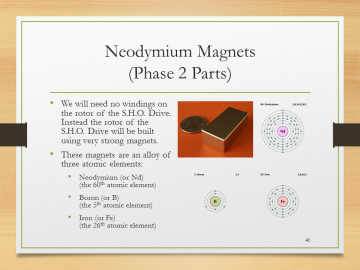
| − | |Let's Build the S.H.O. Drive! - Slide 045 of 176.png||'''Neodymium Magnets'''<br>''(Phase 2 Parts)''<br>• We will need no windings on the rotor of the S.H.O. Drive. Instead the rotor of the S.H.O. Drive will be built using very strong magnets.<br>• These magnets are an alloy of three atomic elements:<br>• Neodymium (or Nd) ''(the 60th atomic element)<br>• Boron (or B) <br>''(the 5th atomic element)''<br>• Iron (or Fe) <br>''(the 26th atomic element) | + | |Let's Build the S.H.O. Drive! - Slide 045 of 176.png||'''Neodymium Magnets'''<br>''(Phase 2 Parts)''<br>• We will need no windings on the rotor of the S.H.O. Drive. Instead the rotor of the S.H.O. Drive will be built using very strong magnets.<br>• These magnets are an alloy of three atomic elements:<br>• Neodymium (or Nd) (the 60th atomic element)<br>• Boron (or B) (the 5th atomic element)<br>• Iron (or Fe) (the 26th atomic element) |
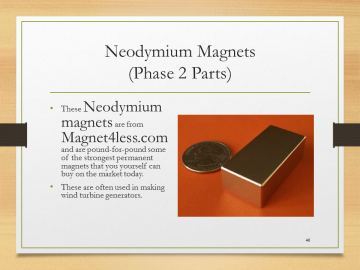
| | |Let's Build the S.H.O. Drive! - Slide 046 of 176.png||'''Neodymium Magnets'''<br>''(Phase 2 Parts)''<br>• These Neodymium magnets are from Magnet4less.com and are pound-for-pound some of the strongest permanent magnets that you yourself can buy on the market today.<br>• These are often used in making wind turbine generators. | | |Let's Build the S.H.O. Drive! - Slide 046 of 176.png||'''Neodymium Magnets'''<br>''(Phase 2 Parts)''<br>• These Neodymium magnets are from Magnet4less.com and are pound-for-pound some of the strongest permanent magnets that you yourself can buy on the market today.<br>• These are often used in making wind turbine generators. |
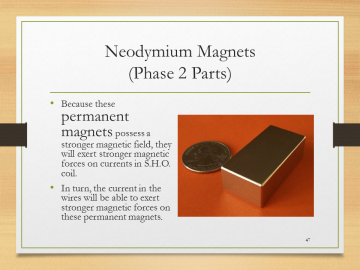
| | |Let's Build the S.H.O. Drive! - Slide 047 of 176.png||'''Neodymium Magnets'''<br>''(Phase 2 Parts)''<br>• Because these permanent magnets possess a stronger magnetic field, they will exert stronger magnetic forces on currents in S.H.O. coil.<br>• In turn, the current in the wires will be able to exert stronger magnetic forces on these permanent magnets. | | |Let's Build the S.H.O. Drive! - Slide 047 of 176.png||'''Neodymium Magnets'''<br>''(Phase 2 Parts)''<br>• Because these permanent magnets possess a stronger magnetic field, they will exert stronger magnetic forces on currents in S.H.O. coil.<br>• In turn, the current in the wires will be able to exert stronger magnetic forces on these permanent magnets. |
| Line 141: |
Line 141: |
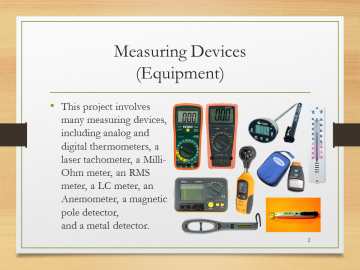
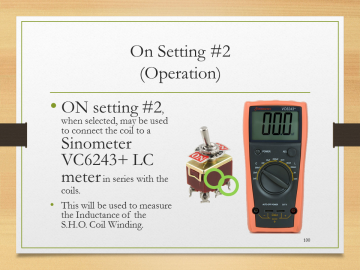
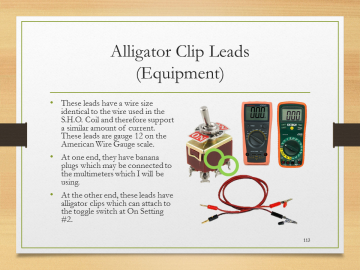
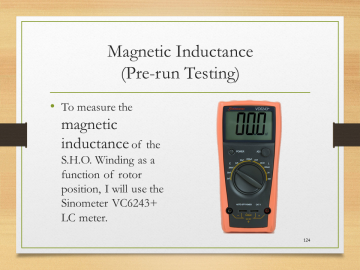
| | |Let's Build the S.H.O. Drive! - Slide 100 of 176.png||'''On Setting #2'''<br>''(Operation)''<br>• ON setting #2, when selected, may be used to connect the coil to a Sinometer VC6243+ LC meter in series with the coils.<br>• This will be used to measure the Inductance of the S.H.O. Coil Winding. | | |Let's Build the S.H.O. Drive! - Slide 100 of 176.png||'''On Setting #2'''<br>''(Operation)''<br>• ON setting #2, when selected, may be used to connect the coil to a Sinometer VC6243+ LC meter in series with the coils.<br>• This will be used to measure the Inductance of the S.H.O. Coil Winding. |
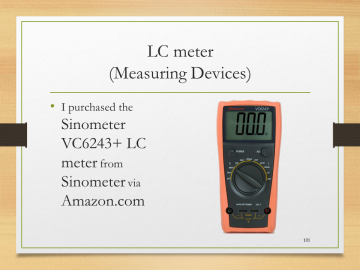
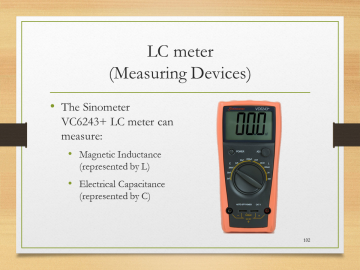
| | |Let's Build the S.H.O. Drive! - Slide 101 of 176.png||'''LC meter'''<br>''(Measuring Devices)''<br>• I purchased the Sinometer VC6243+ LC meter from Sinometer via Amazon.com | | |Let's Build the S.H.O. Drive! - Slide 101 of 176.png||'''LC meter'''<br>''(Measuring Devices)''<br>• I purchased the Sinometer VC6243+ LC meter from Sinometer via Amazon.com |
| − | |Let's Build the S.H.O. Drive! - Slide 102 of 176.png||'''LC meter'''<br>''(Measuring Devices)''<br>• The Sinometer VC6243+ LC meter can measure:<br>• Magnetic Inductance <br>''(represented by L)''<br>• Electrical Capacitance <br>''(represented by C)'' | + | |Let's Build the S.H.O. Drive! - Slide 102 of 176.png||'''LC meter'''<br>''(Measuring Devices)''<br>• The Sinometer VC6243+ LC meter can measure:<br>• Magnetic Inductance (represented by L)• Electrical Capacitance (represented by C) |
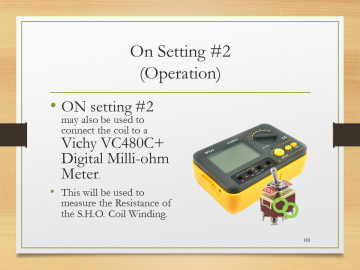
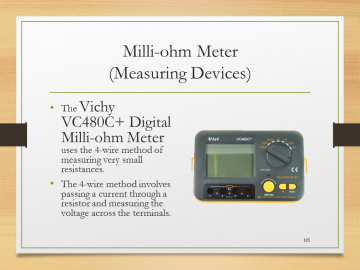
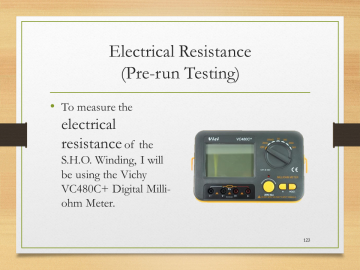
| | |Let's Build the S.H.O. Drive! - Slide 103 of 176.png||'''On Setting #2'''<br>''(Operation)''<br>• ON setting #2 may also be used to connect the coil to a Vichy VC480C+ Digital Milli-ohm Meter.<br>• This will be used to measure the Resistance of the S.H.O. Coil Winding. | | |Let's Build the S.H.O. Drive! - Slide 103 of 176.png||'''On Setting #2'''<br>''(Operation)''<br>• ON setting #2 may also be used to connect the coil to a Vichy VC480C+ Digital Milli-ohm Meter.<br>• This will be used to measure the Resistance of the S.H.O. Coil Winding. |
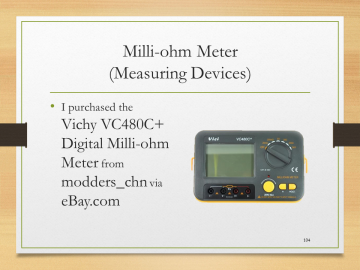
| | |Let's Build the S.H.O. Drive! - Slide 104 of 176.png||'''Milli-ohm Meter'''<br>''(Measuring Devices)''<br>• I purchased the Vichy VC480C+ Digital Milli-ohm Meter from modders_chn via eBay.com | | |Let's Build the S.H.O. Drive! - Slide 104 of 176.png||'''Milli-ohm Meter'''<br>''(Measuring Devices)''<br>• I purchased the Vichy VC480C+ Digital Milli-ohm Meter from modders_chn via eBay.com |
| Line 190: |
Line 190: |
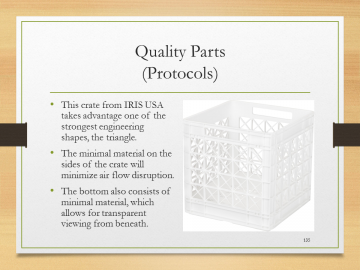
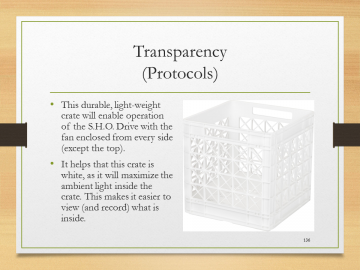
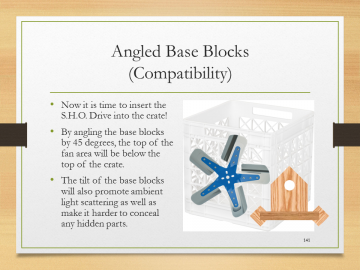
| | |Let's Build the S.H.O. Drive! - Slide 141 of 176.png||'''Angled Base Blocks'''<br>''(Compatibility)''<br>• Now it is time to insert the S.H.O. Drive into the crate!<br>• By angling the base blocks by 45 degrees, the top of the fan area will be below the top of the crate.<br>• The tilt of the base blocks will also promote ambient light scattering as well as make it harder to conceal any hidden parts. | | |Let's Build the S.H.O. Drive! - Slide 141 of 176.png||'''Angled Base Blocks'''<br>''(Compatibility)''<br>• Now it is time to insert the S.H.O. Drive into the crate!<br>• By angling the base blocks by 45 degrees, the top of the fan area will be below the top of the crate.<br>• The tilt of the base blocks will also promote ambient light scattering as well as make it harder to conceal any hidden parts. |
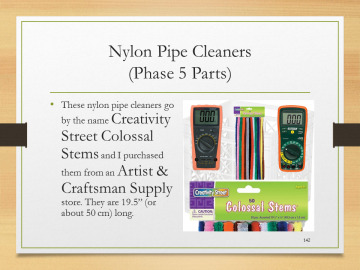
| | |Let's Build the S.H.O. Drive! - Slide 142 of 176.png||'''Nylon Pipe Cleaners'''<br>''(Phase 5 Parts)''<br>• These nylon pipe cleaners go by the name Creativity Street Colossal Stems and I purchased them from an Artist & Craftsman Supply store. They are 19.5” (or about 50 cm) long. | | |Let's Build the S.H.O. Drive! - Slide 142 of 176.png||'''Nylon Pipe Cleaners'''<br>''(Phase 5 Parts)''<br>• These nylon pipe cleaners go by the name Creativity Street Colossal Stems and I purchased them from an Artist & Craftsman Supply store. They are 19.5” (or about 50 cm) long. |
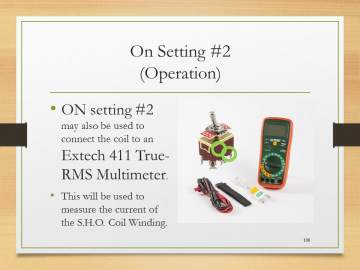
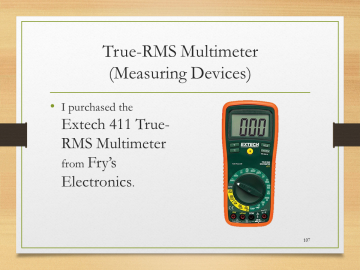
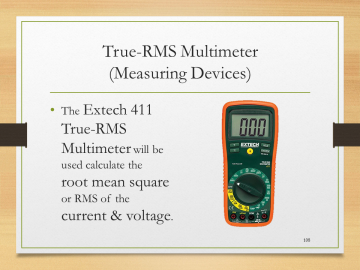
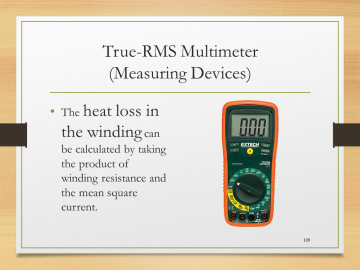
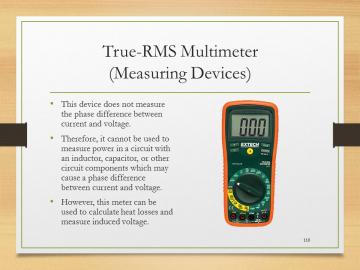
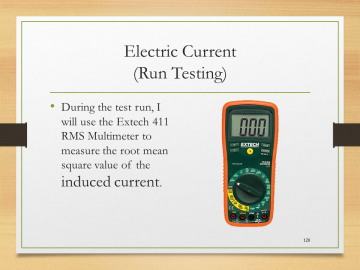
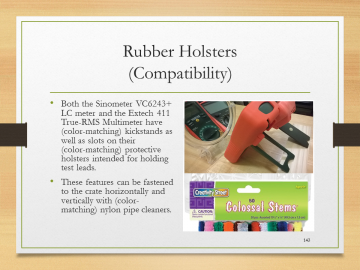
| − | |Let's Build the S.H.O. Drive! - Slide 143 of 176.png||'''Rubber Holsters'''<br>''(Compatibility)''<br>• Both the Sinometer VC6243+ LC meter and the Extech 411 True-RMS Multimeter have <br>''(color-matching) kickstands as well as slots on their <br>''(color-matching) protective holsters intended for holding test leads.<br>• These features can be fastened to the crate horizontally and vertically with (color-matching) nylon pipe cleaners. | + | |Let's Build the S.H.O. Drive! - Slide 143 of 176.png||'''Rubber Holsters'''<br>''(Compatibility)''<br>• Both the Sinometer VC6243+ LC meter and the Extech 411 True-RMS Multimeter have (color-matching) kickstands as well as slots on their (color-matching) protective holsters intended for holding test leads.<br>• These features can be fastened to the crate horizontally and vertically with (color-matching) nylon pipe cleaners. |
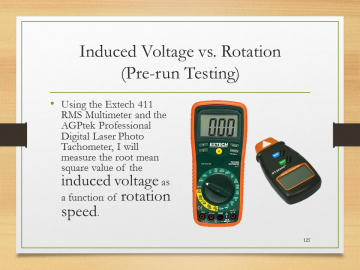
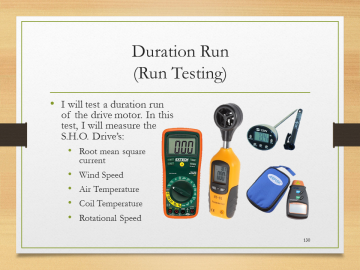
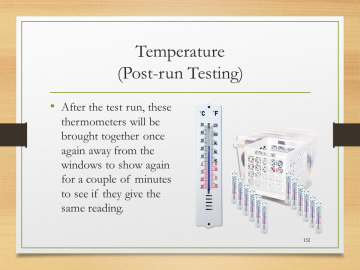
| | |Let's Build the S.H.O. Drive! - Slide 144 of 176.png||'''Multi-hour Test'''<br>''(Testing)''<br>• The following will be tested:<br>• Resistance<br>• Inductance [ f(position) ]<br>• R.M.S. Voltage [ f(r.p.m.) ]<br>• Rotational Speed<br>• R.M.S. Current<br>• Temperature [ +references ]<br>• Refer to procedure laid out in Phase 4. | | |Let's Build the S.H.O. Drive! - Slide 144 of 176.png||'''Multi-hour Test'''<br>''(Testing)''<br>• The following will be tested:<br>• Resistance<br>• Inductance [ f(position) ]<br>• R.M.S. Voltage [ f(r.p.m.) ]<br>• Rotational Speed<br>• R.M.S. Current<br>• Temperature [ +references ]<br>• Refer to procedure laid out in Phase 4. |
| | }} | | }} |














![Multi-hour Test(Testing)• The following will be tested:• Resistance• Inductance [ f(position) ]• R.M.S. Voltage [ f(r.p.m.) ]• Rotational Speed• R.M.S. Current• Temperature [ +references ]• Refer to procedure laid out in Phase 4.](/images/thumb/Let%27s_Build_the_S.H.O._Drive%21_-_Slide_144_of_176.png/360px-Let%27s_Build_the_S.H.O._Drive%21_-_Slide_144_of_176.png)




![Multi-hour Test(Testing)• The following will be tested:• Resistance• Inductance [ f(position) ]• R.M.S. Voltage [ f(r.p.m.) ]• Rotational Speed• R.M.S. Current• Temperature [ +references ]• Refer to procedure laid out in Phase 4.](/images/thumb/Let%27s_Build_the_S.H.O._Drive%21_-_Slide_176_of_176.png/360px-Let%27s_Build_the_S.H.O._Drive%21_-_Slide_176_of_176.png)
