|
|
| Line 125: |
Line 125: |
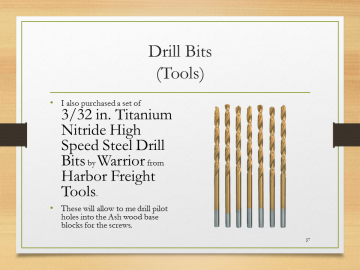
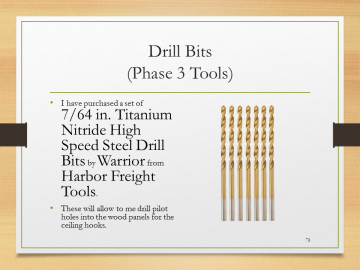
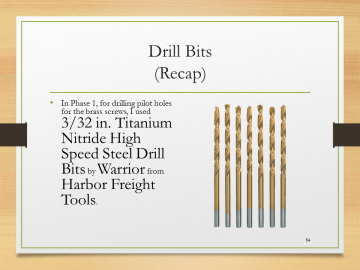
| | |Let's Build the S.H.O. Drive! - Slide 084 of 176.png||'''Drill Bits'''<br>''(Recap)''<br>• In Phase 1, for drilling pilot holes for the brass screws, I used 3/32 in. Titanium Nitride High Speed Steel Drill Bits by Warrior from Harbor Freight Tools. | | |Let's Build the S.H.O. Drive! - Slide 084 of 176.png||'''Drill Bits'''<br>''(Recap)''<br>• In Phase 1, for drilling pilot holes for the brass screws, I used 3/32 in. Titanium Nitride High Speed Steel Drill Bits by Warrior from Harbor Freight Tools. |
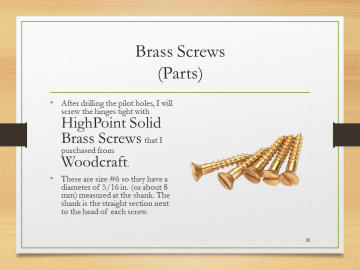
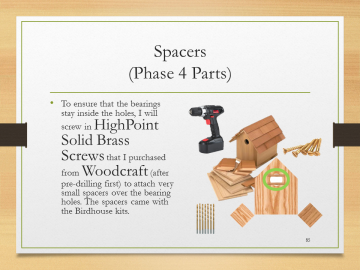
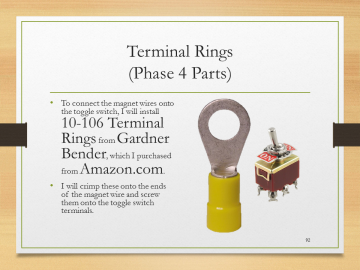
| | |Let's Build the S.H.O. Drive! - Slide 085 of 176.png||'''Spacers'''<br>''(Phase 4 Parts)''<br>• To ensure that the bearings stay inside the holes, I will screw in HighPoint Solid Brass Screws that I purchased from Woodcraft (after pre-drilling first) to attach very small spacers over the bearing holes. The spacers came with the Birdhouse kits. | | |Let's Build the S.H.O. Drive! - Slide 085 of 176.png||'''Spacers'''<br>''(Phase 4 Parts)''<br>• To ensure that the bearings stay inside the holes, I will screw in HighPoint Solid Brass Screws that I purchased from Woodcraft (after pre-drilling first) to attach very small spacers over the bearing holes. The spacers came with the Birdhouse kits. |
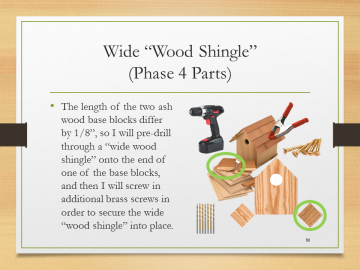
| − | |Let's Build the S.H.O. Drive! - Slide 086 of 176.png||'''Wide “Wood Shingle”‘‘‘<br>''(Phase 4 Parts)''<br>• The length of the two ash wood base blocks differ by 1/8”, so I will pre-drill through a “wide wood shingle” onto the end of one of the base blocks, and then I will screw in additional brass screws in order to secure the wide “wood shingle” into place. | + | |Let's Build the S.H.O. Drive! - Slide 086 of 176.png||'''Wide “Wood Shingle”'''<br>''(Phase 4 Parts)''<br>• The length of the two ash wood base blocks differ by 1/8”, so I will pre-drill through a “wide wood shingle” onto the end of one of the base blocks, and then I will screw in additional brass screws in order to secure the wide “wood shingle” into place. |
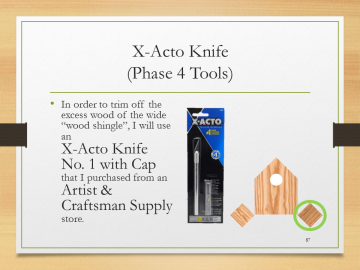
| | |Let's Build the S.H.O. Drive! - Slide 087 of 176.png||'''X-Acto Knife'''<br>''(Phase 4 Tools)''<br>• In order to trim off the excess wood of the wide “wood shingle”, I will use an X-Acto Knife No. 1 with Cap that I purchased from an Artist & Craftsman Supply store. | | |Let's Build the S.H.O. Drive! - Slide 087 of 176.png||'''X-Acto Knife'''<br>''(Phase 4 Tools)''<br>• In order to trim off the excess wood of the wide “wood shingle”, I will use an X-Acto Knife No. 1 with Cap that I purchased from an Artist & Craftsman Supply store. |
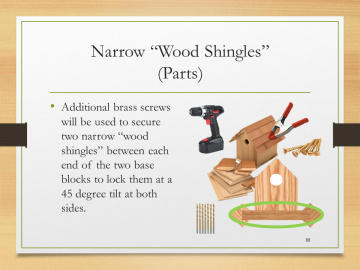
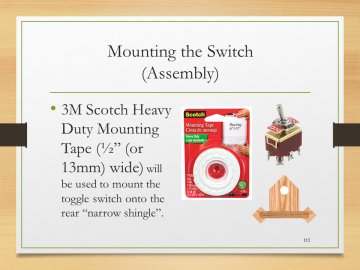
| − | |Let's Build the S.H.O. Drive! - Slide 088 of 176.png||'''Narrow “Wood Shingles”‘‘‘<br>''(Parts)''<br>• Additional brass screws will be used to secure two narrow “wood shingles” between each end of the two base blocks to lock them at a 45 degree tilt at both sides. | + | |Let's Build the S.H.O. Drive! - Slide 088 of 176.png||'''Narrow “Wood Shingles”'''<br>''(Parts)''<br>• Additional brass screws will be used to secure two narrow “wood shingles” between each end of the two base blocks to lock them at a 45 degree tilt at both sides. |
| − | |Let's Build the S.H.O. Drive! - Slide 089 of 176.png||#ShoDrives @ShoDrives Sho.wiki Drive Replication and Collaboration Site YouTube.com/c/ShoWiki Watch and Subscribe Site Facebook.com/ShoDrives Like, Share, and Fan Site | + | |Let's Build the S.H.O. Drive! - Slide 089 of 176.png||'''#ShoDrives<br>@ShoDrives<br>Sho.wiki''' - ''Drive Replication and Collaboration Site''<br>'''YouTube.com/c/ShoWiki''' - ''Watch and Subscribe Site''<br>'''Facebook.com/ShoDrives''' - ''Like, Share, and Fan Site'' |
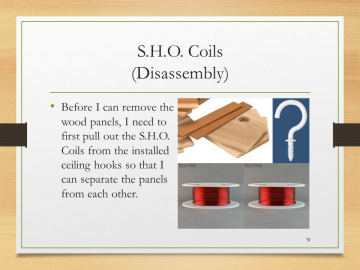
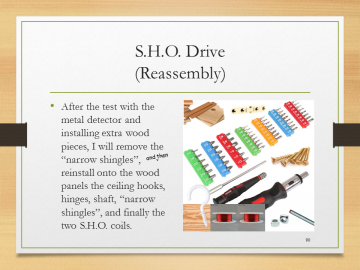
| | |Let's Build the S.H.O. Drive! - Slide 090 of 176.png||'''S.H.O. Drive'''<br>''(Reassembly)''<br>• After the test with the metal detector and installing extra wood pieces, I will remove the “narrow shingles”, reinstall onto the wood panels the ceiling hooks, hinges, shaft, “narrow shingles”, and finally the two S.H.O. coils. | | |Let's Build the S.H.O. Drive! - Slide 090 of 176.png||'''S.H.O. Drive'''<br>''(Reassembly)''<br>• After the test with the metal detector and installing extra wood pieces, I will remove the “narrow shingles”, reinstall onto the wood panels the ceiling hooks, hinges, shaft, “narrow shingles”, and finally the two S.H.O. coils. |
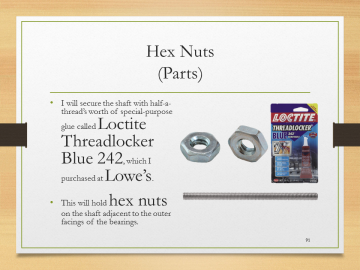
| | |Let's Build the S.H.O. Drive! - Slide 091 of 176.png||'''Hex Nuts'''<br>''(Parts)''<br>• I will secure the shaft with half-a-thread’s worth of special-purpose glue called Loctite Threadlocker Blue 242, which I purchased at Lowe’s.<br>• This will hold hex nuts on the shaft adjacent to the outer facings of the bearings. | | |Let's Build the S.H.O. Drive! - Slide 091 of 176.png||'''Hex Nuts'''<br>''(Parts)''<br>• I will secure the shaft with half-a-thread’s worth of special-purpose glue called Loctite Threadlocker Blue 242, which I purchased at Lowe’s.<br>• This will hold hex nuts on the shaft adjacent to the outer facings of the bearings. |
| Line 141: |
Line 141: |
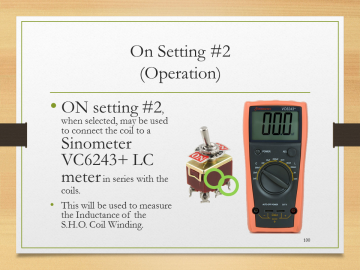
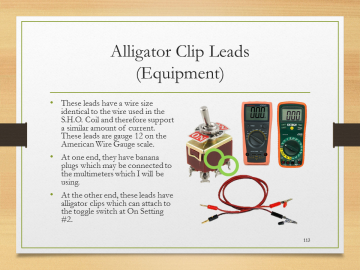
| | |Let's Build the S.H.O. Drive! - Slide 100 of 176.png||'''On Setting #2'''<br>''(Operation)''<br>• ON setting #2, when selected, may be used to connect the coil to a Sinometer VC6243+ LC meter in series with the coils.<br>• This will be used to measure the Inductance of the S.H.O. Coil Winding. | | |Let's Build the S.H.O. Drive! - Slide 100 of 176.png||'''On Setting #2'''<br>''(Operation)''<br>• ON setting #2, when selected, may be used to connect the coil to a Sinometer VC6243+ LC meter in series with the coils.<br>• This will be used to measure the Inductance of the S.H.O. Coil Winding. |
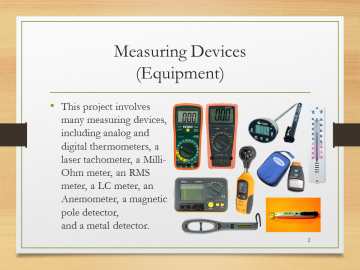
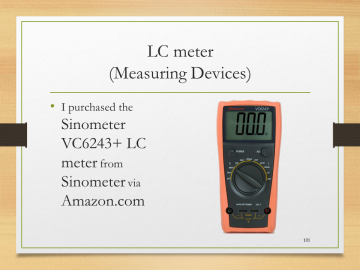
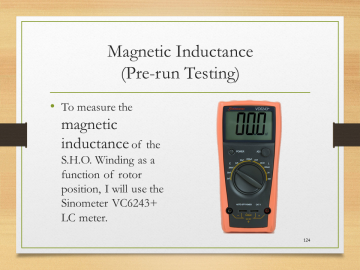
| | |Let's Build the S.H.O. Drive! - Slide 101 of 176.png||'''LC meter'''<br>''(Measuring Devices)''<br>• I purchased the Sinometer VC6243+ LC meter from Sinometer via Amazon.com | | |Let's Build the S.H.O. Drive! - Slide 101 of 176.png||'''LC meter'''<br>''(Measuring Devices)''<br>• I purchased the Sinometer VC6243+ LC meter from Sinometer via Amazon.com |
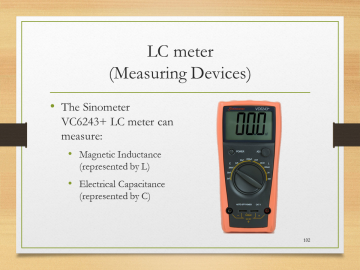
| − | |Let's Build the S.H.O. Drive! - Slide 102 of 176.png||'''LC meter'''<br>''(Measuring Devices)''<br>• The Sinometer VC6243+ LC meter can measure:<br>• Magnetic Inductance <br>''(represented by L)''<br>• Electrical Capacitance <br>''(represented by C) | + | |Let's Build the S.H.O. Drive! - Slide 102 of 176.png||'''LC meter'''<br>''(Measuring Devices)''<br>• The Sinometer VC6243+ LC meter can measure:<br>• Magnetic Inductance <br>''(represented by L)''<br>• Electrical Capacitance <br>''(represented by C)'' |
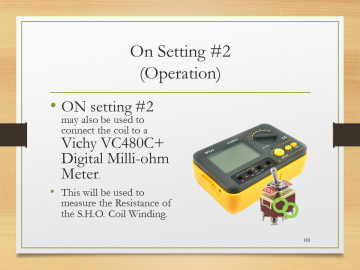
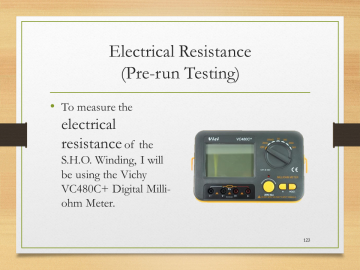
| | |Let's Build the S.H.O. Drive! - Slide 103 of 176.png||'''On Setting #2'''<br>''(Operation)''<br>• ON setting #2 may also be used to connect the coil to a Vichy VC480C+ Digital Milli-ohm Meter.<br>• This will be used to measure the Resistance of the S.H.O. Coil Winding. | | |Let's Build the S.H.O. Drive! - Slide 103 of 176.png||'''On Setting #2'''<br>''(Operation)''<br>• ON setting #2 may also be used to connect the coil to a Vichy VC480C+ Digital Milli-ohm Meter.<br>• This will be used to measure the Resistance of the S.H.O. Coil Winding. |
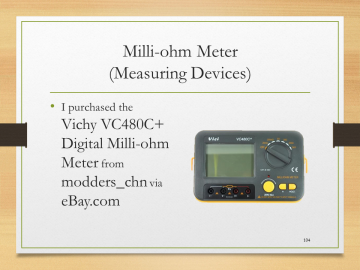
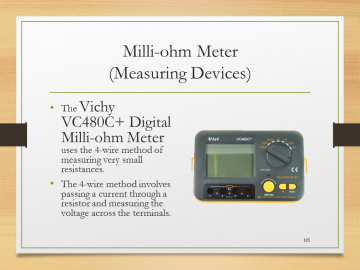
| | |Let's Build the S.H.O. Drive! - Slide 104 of 176.png||'''Milli-ohm Meter'''<br>''(Measuring Devices)''<br>• I purchased the Vichy VC480C+ Digital Milli-ohm Meter from modders_chn via eBay.com | | |Let's Build the S.H.O. Drive! - Slide 104 of 176.png||'''Milli-ohm Meter'''<br>''(Measuring Devices)''<br>• I purchased the Vichy VC480C+ Digital Milli-ohm Meter from modders_chn via eBay.com |
| Line 170: |
Line 170: |
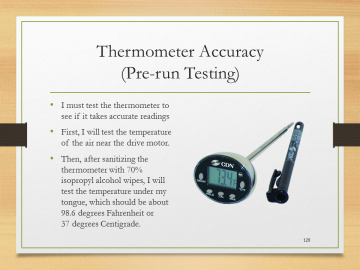
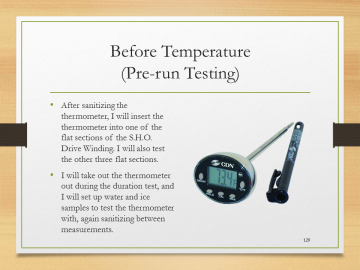
| | |Let's Build the S.H.O. Drive! - Slide 129 of 176.png||'''Before Temperature'''<br>''(Pre-run Testing)''<br>• After sanitizing the thermometer, I will insert the thermometer into one of the flat sections of the S.H.O. Drive Winding. I will also test the other three flat sections.<br>• I will take out the thermometer out during the duration test, and I will set up water and ice samples to test the thermometer with, again sanitizing between measurements. | | |Let's Build the S.H.O. Drive! - Slide 129 of 176.png||'''Before Temperature'''<br>''(Pre-run Testing)''<br>• After sanitizing the thermometer, I will insert the thermometer into one of the flat sections of the S.H.O. Drive Winding. I will also test the other three flat sections.<br>• I will take out the thermometer out during the duration test, and I will set up water and ice samples to test the thermometer with, again sanitizing between measurements. |
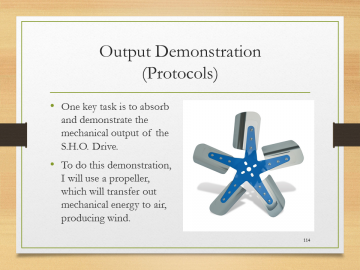
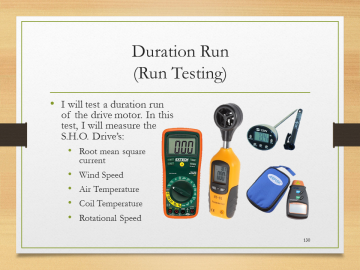
| | |Let's Build the S.H.O. Drive! - Slide 130 of 176.png||'''Duration Run'''<br>''(Run Testing)''<br>• I will test a duration run of the drive motor. In this test, I will measure the S.H.O. Drive’s:<br>• Root mean square current<br>• Wind Speed<br>• Air Temperature<br>• Coil Temperature<br>• Rotational Speed | | |Let's Build the S.H.O. Drive! - Slide 130 of 176.png||'''Duration Run'''<br>''(Run Testing)''<br>• I will test a duration run of the drive motor. In this test, I will measure the S.H.O. Drive’s:<br>• Root mean square current<br>• Wind Speed<br>• Air Temperature<br>• Coil Temperature<br>• Rotational Speed |
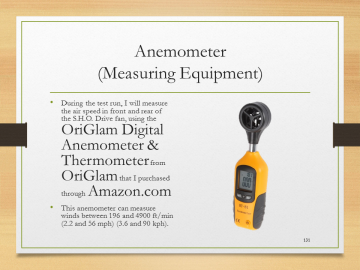
| − | |Let's Build the S.H.O. Drive! - Slide 131 of 176.png||'''Anemometer'''<br>''(Measuring Equipment)''<br>• During the test run, I will measure the air speed in front and rear of the S.H.O. Drive fan, using the OriGlam Digital Anemometer & Thermometer from OriGlam that I purchased through Amazon.com<br>• This anemometer can measure winds between 196 and 4900 ft/min <br>''(2.2 and 56 mph) (3.6 and 90 kph). | + | |Let's Build the S.H.O. Drive! - Slide 131 of 176.png||'''Anemometer'''<br>''(Measuring Equipment)''<br>• During the test run, I will measure the air speed in front and rear of the S.H.O. Drive fan, using the OriGlam Digital Anemometer & Thermometer from OriGlam that I purchased through Amazon.com<br>• This anemometer can measure winds between 196 and 4900 ft/min (2.2 and 56 mph) (3.6 and 90 kph). |
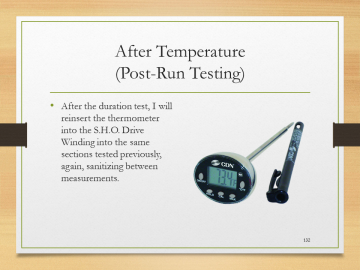
| | |Let's Build the S.H.O. Drive! - Slide 132 of 176.png||'''After Temperature'''<br>''(Post-Run Testing)''<br>• After the duration test, I will reinsert the thermometer into the S.H.O. Drive Winding into the same sections tested previously, again, sanitizing between measurements. | | |Let's Build the S.H.O. Drive! - Slide 132 of 176.png||'''After Temperature'''<br>''(Post-Run Testing)''<br>• After the duration test, I will reinsert the thermometer into the S.H.O. Drive Winding into the same sections tested previously, again, sanitizing between measurements. |
| | }} | | }} |

